BEGINNER GUIDE
Learn touch typing from scratch
Touch typing means typing without constantly looking at the keyboard. Start with finger placement and small exercises, not a race for speed.
Start the home-row lesson →Free · No account required · Physical keyboard needed
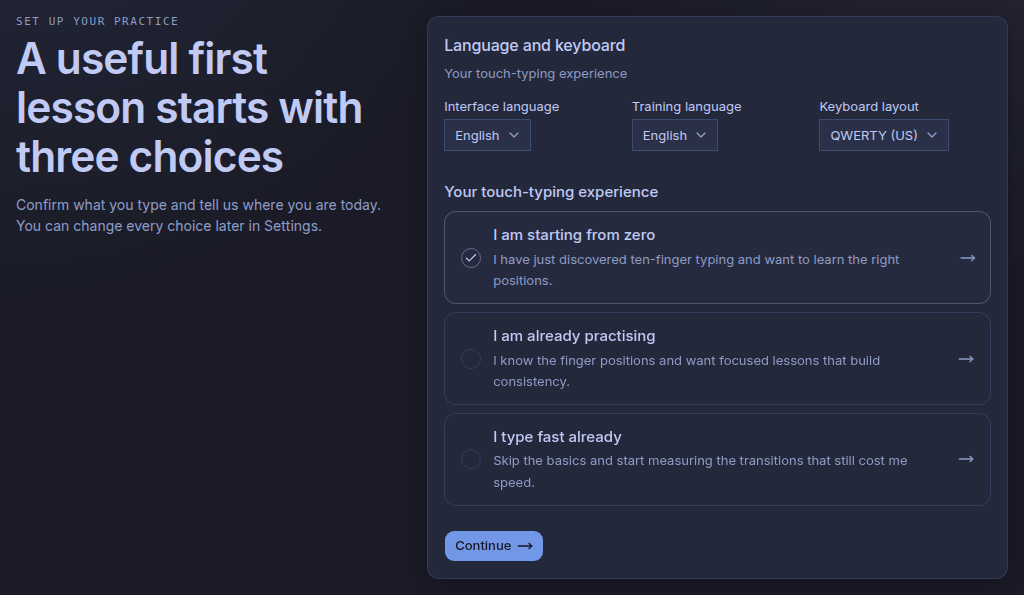
1. Choose your language and keyboard layout
Use a physical keyboard. In the first-lesson setup, select your language, everyday layout and beginner level. Do not switch layouts just for an exercise: practise on the one you actually use.
2. Find the home position for your fingers
On a standard QWERTY keyboard, your index fingers start on F and J. The small bumps help you find them without looking. Rest your other fingers on the neighbouring home-row keys and your thumbs near the spacebar. For another layout, follow the diagram in the lesson.
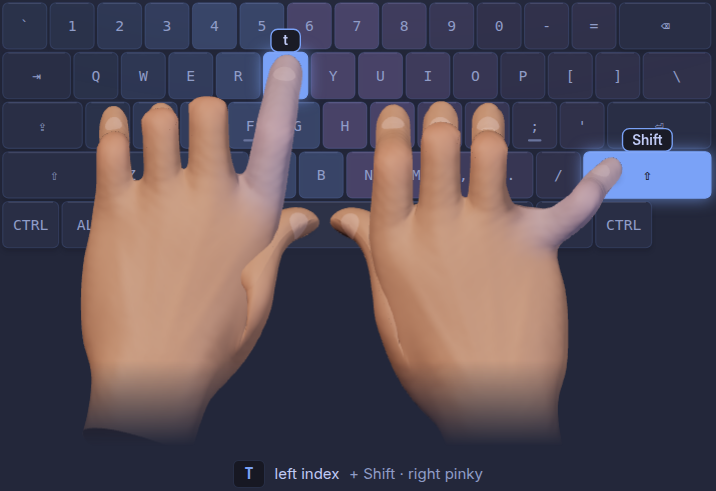
To enable these hints, open Settings → lesson settings → Show hands. This example is regular practice; the introductory lesson uses a separate keyboard diagram.
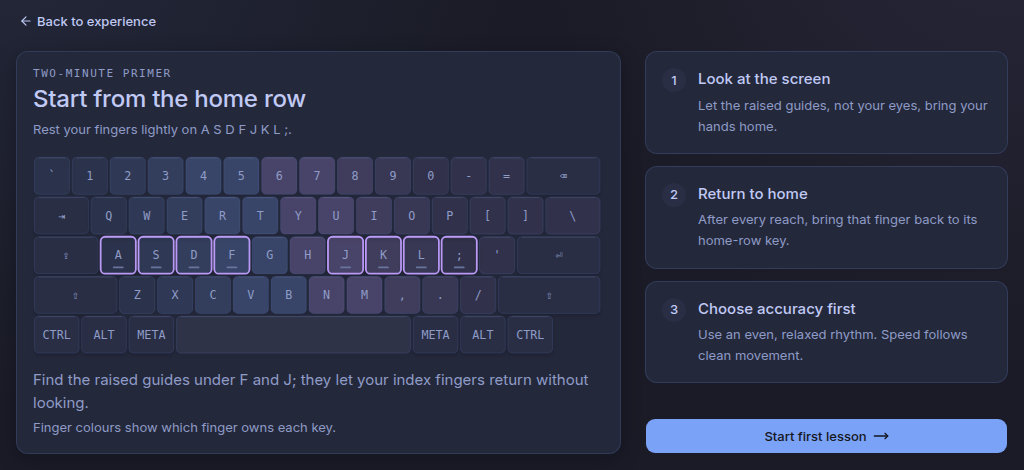
3. Learn the keys gradually
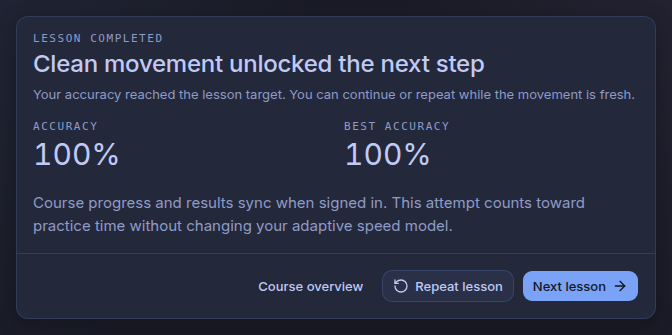
Begin with the home-row lesson in Learning. Type calmly, use the keyboard hints and return your fingers to their home position. Then move on to the next available lessons. You do not need to start with a long timed text.
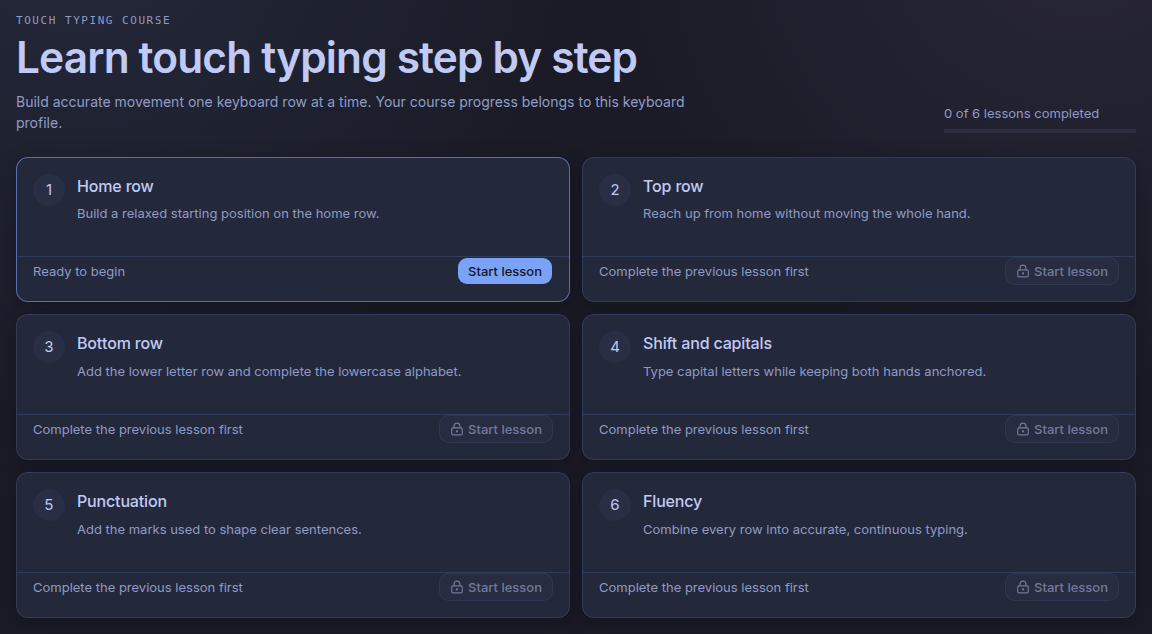
4. Accuracy first, speed later
If you keep making the same mistake, slow down and examine the movement. Look at the text on screen instead of chasing a WPM record. Keep sessions short and take breaks; stop if you feel pain or discomfort. Learning time varies from person to person.
5. Check your skill in ordinary text
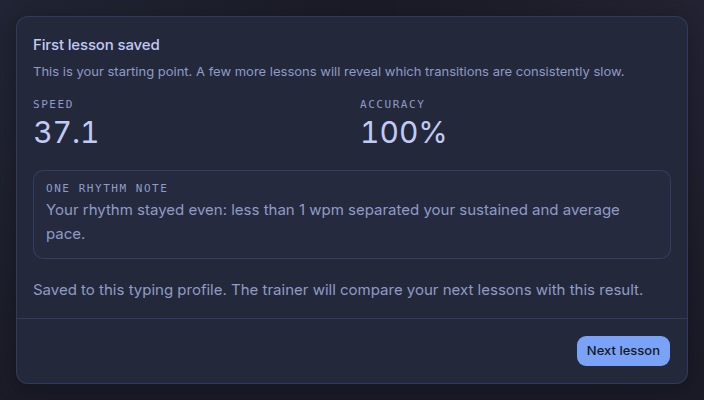
After several sessions, try regular practice. Compare accuracy and speed using the same language and layout. One good result does not establish a stable skill: look at several sessions.
6. Once you know the keyboard
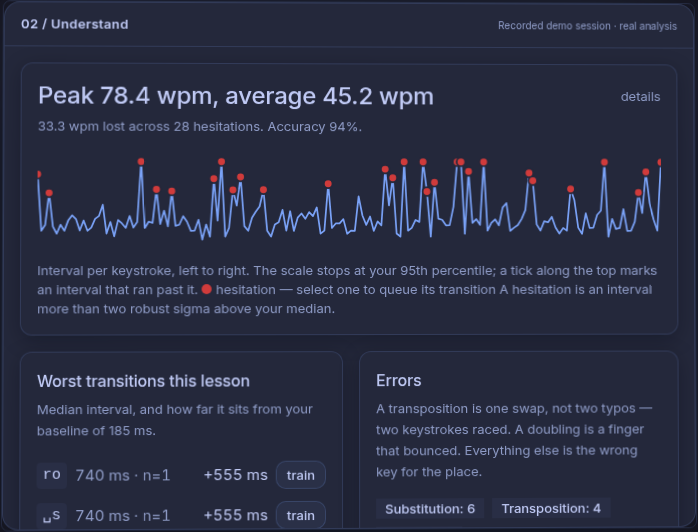
Move from learning key positions to investigating specific pauses and errors. Typing Improver shows speed, accuracy and slow transitions between keys; use your results to choose the next targeted practice.
Do you need an account?
You can learn and practise without an account. Results are stored in your browser; signing in enables synchronisation. Clearing site data may remove progress that has not been synced.